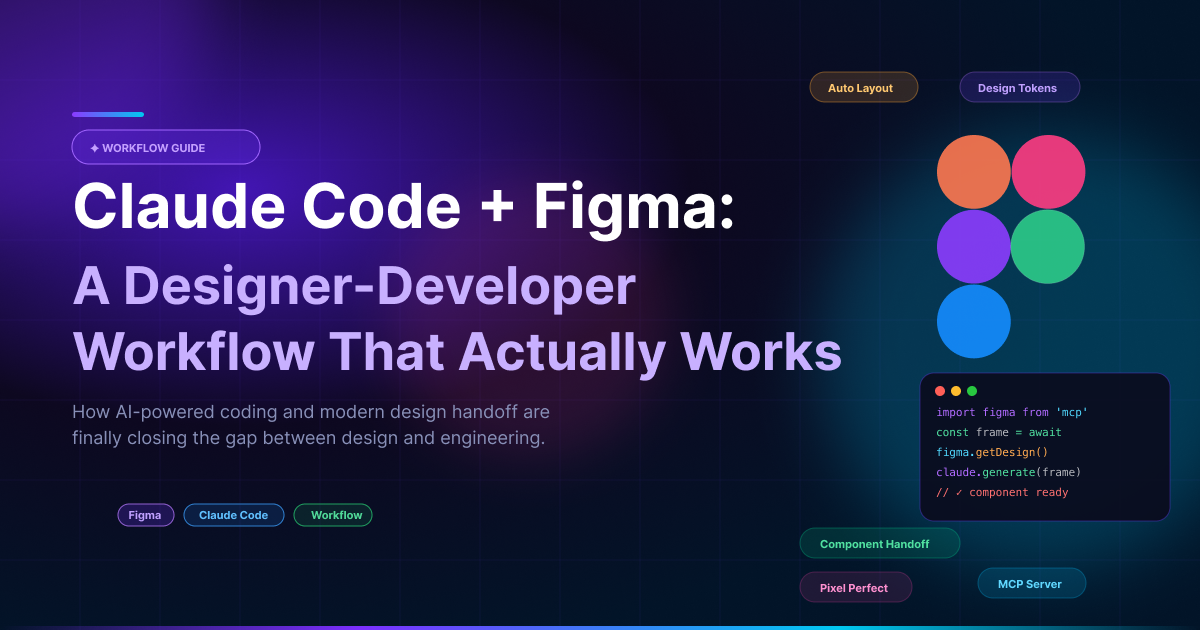
Claude Code + Figma: A Designer-Developer Workflow That Actually Works!
I didn’t intend to write this post. But after using Claude Code alongside Figma on real projects and seeing how dramatically it reshaped the way my team works, I knew it was worth sharing.
This isn’t a product review. It’s a practical breakdown of a workflow I rely on every day. Whether you’re a designer, a developer, or somewhere in between, you’ll find something valuable here.
1. The Problem Worth Solving
Think about the last project you delivered. How much of your time went into actual design thinking and how much was spent copying specs between tools, re-explaining decisions, or chasing the latest version of a file? For most teams, the second outweighs the first.
You’re not designing. You’re managing chaos.
The real cost is context switching. Every time you jump between tools, you lose momentum. Decisions get duplicated. Inconsistencies creep in. And the work that actually matters is the thinking & the design that gets squeezed into whatever time is left.
This is the problem the workflow solves. Not by adding more tools, but by connecting the ones you already use into a single, cohesive system.
2. Getting Claude Code Running
Claude Code lives in your terminal, the black window most designers avoid. But don’t worry: you only need to set it up once. After that, it quietly does its job, and you can almost forget it exists.
My team runs Claude Code on a shared studio server, so every designer and developer connects to the same environment. You can also run it locally on your Mac.The setup is the same either way.
Install it
Open your terminal on Mac, press Cmd + Space and type Terminal and run this:
npm install -g @anthropic-ai/claude-code
If you type claude afterward and see a “command not found” error, don’t panic. This is very common. It just means your terminal doesn’t yet know where the tool was installed.
Fix the PATH
Think of PATH as your terminal’s address book. If an app isn’t listed, the terminal can’t find it. You fix this by editing a file called .zshrc.
What is .zshrc? It’s a hidden configuration file your Mac reads every time you open a terminal, like a startup checklist. The name breaks down like this: zsh is the shell program running inside your terminal, and rc stands for “Run Commands.” In short, .zshrc is just a set of instructions that load automatically whenever your terminal starts.
Run this to open it: nano ~/.zshrc
Scroll to the bottom and add this line:
export PATH="$HOME/.npm-global/bin:$PATH"
Press Ctrl + X, then Y to save.
Then run: source ~/.zshrc
Type Claude. You should see the Claude Code prompt.
That is it! You are in.
Quick note: If you are on an older Mac using bash instead of zsh, edit ~/.bash_profile instead. Everything else works the same way.
3. Connecting Claude Code to Figma
This is where the workflow changes completely.
On its own, Claude Code is powerful. But when you connect it to Figma through the official MCP server, it stops being just an AI you talk to. It becomes an AI that works inside your design file.
What does that mean in practice? Claude Code can read your Figma file, create components, set variable values, and organize layers all from the terminal without you ever touching Figma manually.
How to connect them?
Find or create this file on your Mac:
~/Library/Application Support/Claude/claude_desktop_config.json
Add the Figma MCP server entry under mcpServers. Anthropic's documentation has the exact snippet to paste. Save the file, restart Claude Desktop, and make sure your Figma file is open in the desktop app, not the browser.
When it works, Figma appears as an available tool inside your Claude Code session. From that moment, Claude is not advising you from the outside. It is working inside the same file you and your team are using.
Important: Always authenticate through the Figma desktop app. Browser sessions can cause token errors that are frustrating to debug. Desktop app first, every time.
4. Building a Design Language System with Claude Code
Setting up a design system from scratch takes time. Defining every color shade, working out a type scale, building the spacing grid, documenting it all. It is important work, but it is also slow and easy to get inconsistent.
Claude Code can do this in minutes and write the results directly into your Figma variables panel.
Here is a real example. This is the prompt I used when building the DLS for Chat'n Shop, an AI-powered Arabic grocery assistant app for the MENA market:
"Create a design language system for Chat'n Shop — a native iOS grocery shopping app for the MENA market with an AI chat interface. Primary brand color is #FFBB00 (golden yellow). Secondary is #1C2B4A (deep navy). Accent is #E8403C (logo red). Use SF Pro Text as the typeface. Base spacing unit is 4px, scaling up to 32px. Border radius ranges from 4px to full pill shapes for chat bubbles and tags. Semantic colors: success #34C759, warning #FF9500, danger #FF3B30. The tone should feel warm, conversational and trustworthy. Write all tokens into the open Figma file."
What came back was a complete system:
- Color tokens: primary, secondary, accent, semantic states, neutral grays, and surface colors for chat bubbles
- Typography scale: from 34px hero display down to 11px captions, with weights and line heights
- Spacing tokens: a consistent 4px grid from 4px through to 32px
- Border radius tokens: from subtle 4px corners to full pill shapes
- Component specs: button, input, chat bubble, product card, and navigation bar
All written directly into Figma. No manual copy-paste. No spreadsheet of values. One prompt, one coherent system.
And if something does not feel right? You ask Claude Code to read the file back and adjust. It is a conversation, not a one-shot output.
5. How does Claude Code and Figma Complete Each Other?
This is the part worth getting right: Claude Code and Figma aren’t just compatible! They complement each other, filling the gaps the other leaves behind.
Claude Code reads Figma
Before generating anything, Claude Code can inspect your Figma file. Component names, existing styles, layer naming, frame structure. It is never working from assumptions. It is working from what is actually in your file.
Claude Code writes to Figma
Instead of writing a spec that a designer then manually interprets, Claude Code can create components directly in the file. Your role shifts from building the foundation to refining and art-directing, where your judgment matters most.
Figma feeds Claude Code
This direction is the one most people miss. Once you have a designed screen in Figma, Claude Code can read it and write the frontend spec automatically, generate developer handoff notes, or catch inconsistencies before the build starts. The design file becomes an input, not just an output.
The DLS as a shared language
Claude Code generates the tokens. They live in Figma as variables. Developers consume those same tokens in code. One source of truth is maintained intelligently, visible to everyone, consistent across the entire product.
The mental model: Claude Code is the architect and the builder. Figma is the blueprint room. Figma Make is the construction crew. None of them does the full job alone. Together, they cover everything from brief to production.
6. The Full Pipeline: From Brief to Production
Once the setup is in place, a real project flow looks like this:
- A brief arrives from a client
- Claude Code generates the information architecture, user flows, and component specs
- Claude Code writes the DLS tokens directly into the Figma file via MCP
- You design the screens using those components and tokens as the foundation
- Claude Code reads the Figma output, validates consistency, and flags anything off
- Figma Make takes the clean, token-driven design and generates production-ready frontend code
The feedback loop between Claude Code and Figma is what makes this different from other AI workflows. You are not running two parallel processes. You are running one connected system where each step informs the next.
7. Figma Make: What It Can Do and My Honest Take
Figma Make takes your Figma design and generates frontend code: HTML and CSS, or React components, depending on your setup.
For clean, token-driven designs, it works well. Simple screens, standard components, consistent layouts. These come out in good shape.
My honest take: it is a strong first draft, not a finished commit. Complex interactive states, custom animations, and edge-case breakpoints still need a developer pass. Build that review step into your process from the start.
But here is the thing. The quality of what Figma Make produces depends entirely on the quality of the Figma file it reads. When Claude Code has set up the DLS properly, and the components are clean, the output improves significantly. The work you put in earlier pays off here.
If the blueprints are clear and the materials are well-specified, the building goes up cleanly. If not, no amount of skill downstream saves it.
8. What Works and What to Watch Out For
What works
- Start with Claude Code before you open Figma. Think through the IA and component requirements first. The Figma work will be faster and much more focused.
- Keep your prompts specific. Vague prompts produce vague tokens. The more brand context you give, the more useful the output.
- Version your DLS tokens in git. Treat them like code. Track changes, review updates, and roll back when needed.
- Use a shared server for teams. Everyone in the same environment means consistent outputs and no local config headaches.
- Ask Claude Code to review before Figma Make. It can read the file and flag issues. Use that step, it saves pain later.
What to watch out for
- Do not skip the PATH setup. It trips up almost everyone the first time. Five minutes now saves frustration later.
- Authenticate through the desktop app. Browser tokens expire unpredictably. The desktop connection is stable.
- Share your brand guidelines before generating the DLS. Without them, Claude makes reasonable defaults. With them, it makes the right choices.
- Built-in iteration time. This workflow reduces the loops, it does not eliminate them. Plan for at least one round of refinement.
Where to Start?
Do not try to implement the whole pipeline on your first attempt. Start with one thing.
Install Claude Code, connect it to a Figma file, and ask it to generate a color palette for a project you are working on. Watch it write the variables directly into Figma.
That moment seeing Claude actually working inside your design file, is when it clicks. Everything else follows naturally from there.
The tools are ready. The workflow is proven. The only thing left is to open your terminal and try it.